Back to Contact Sheet Maker Pro
Software Documentation
Contact Sheet Maker Pro User Manual
REVISED 2026-02-25
Use this guide for the current workflow: import images, configure layout, generate your contact sheet, and export.
1. Quick Start (First PDF in ~2 Minutes)
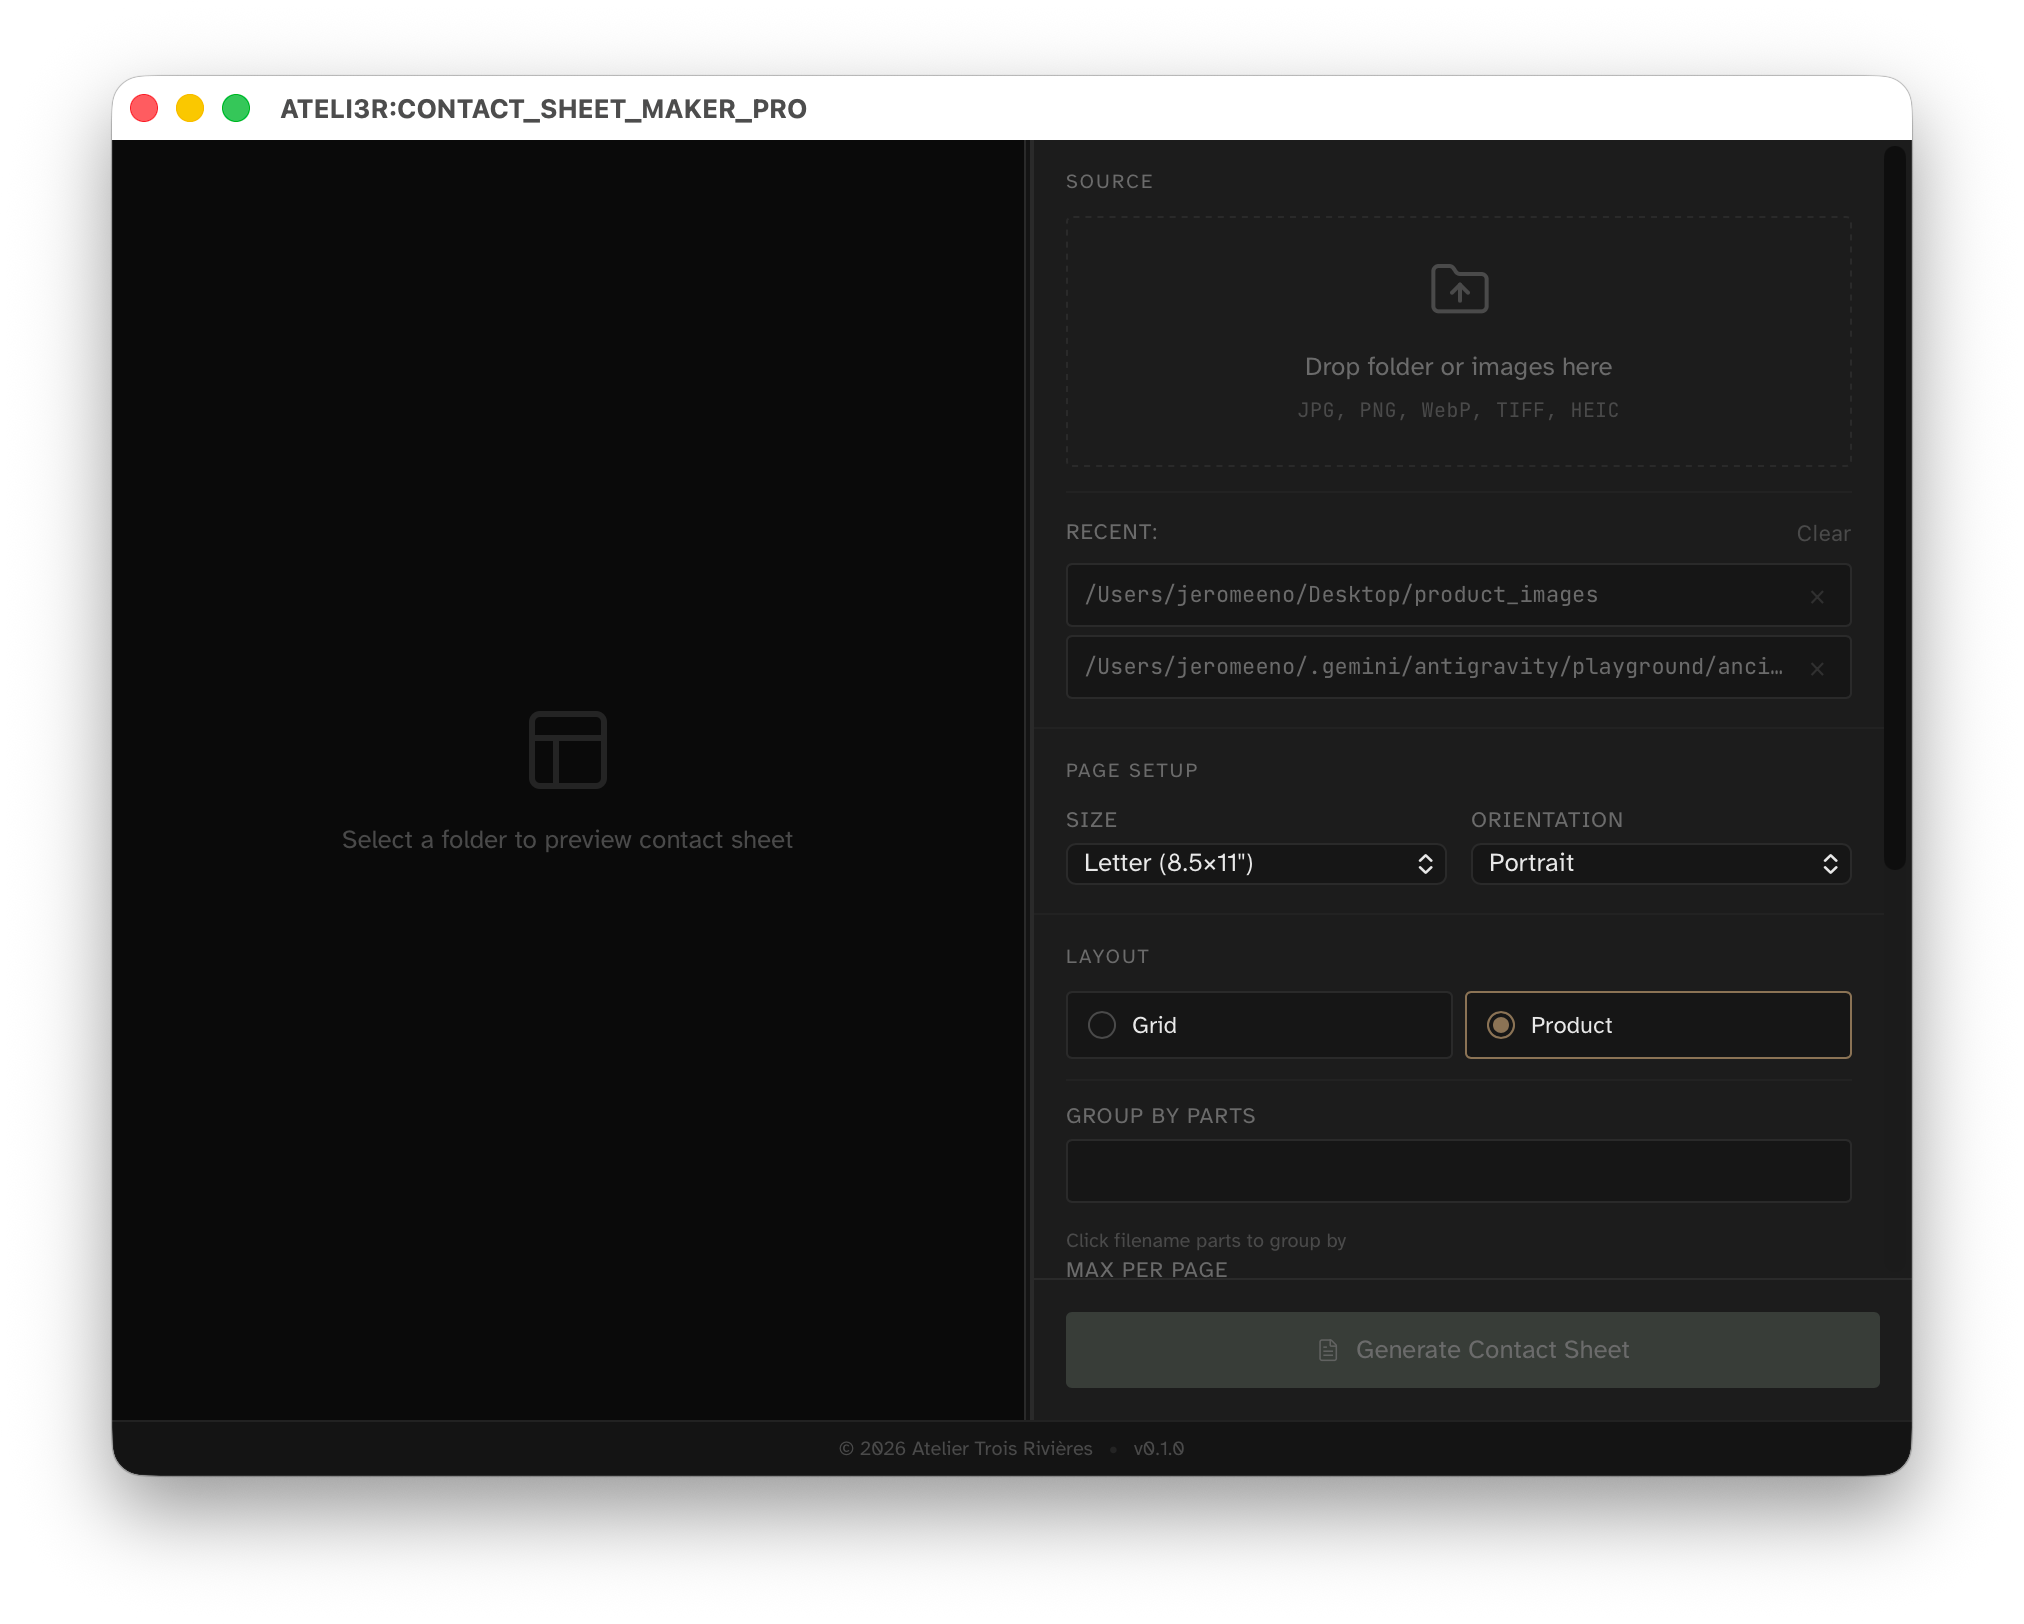
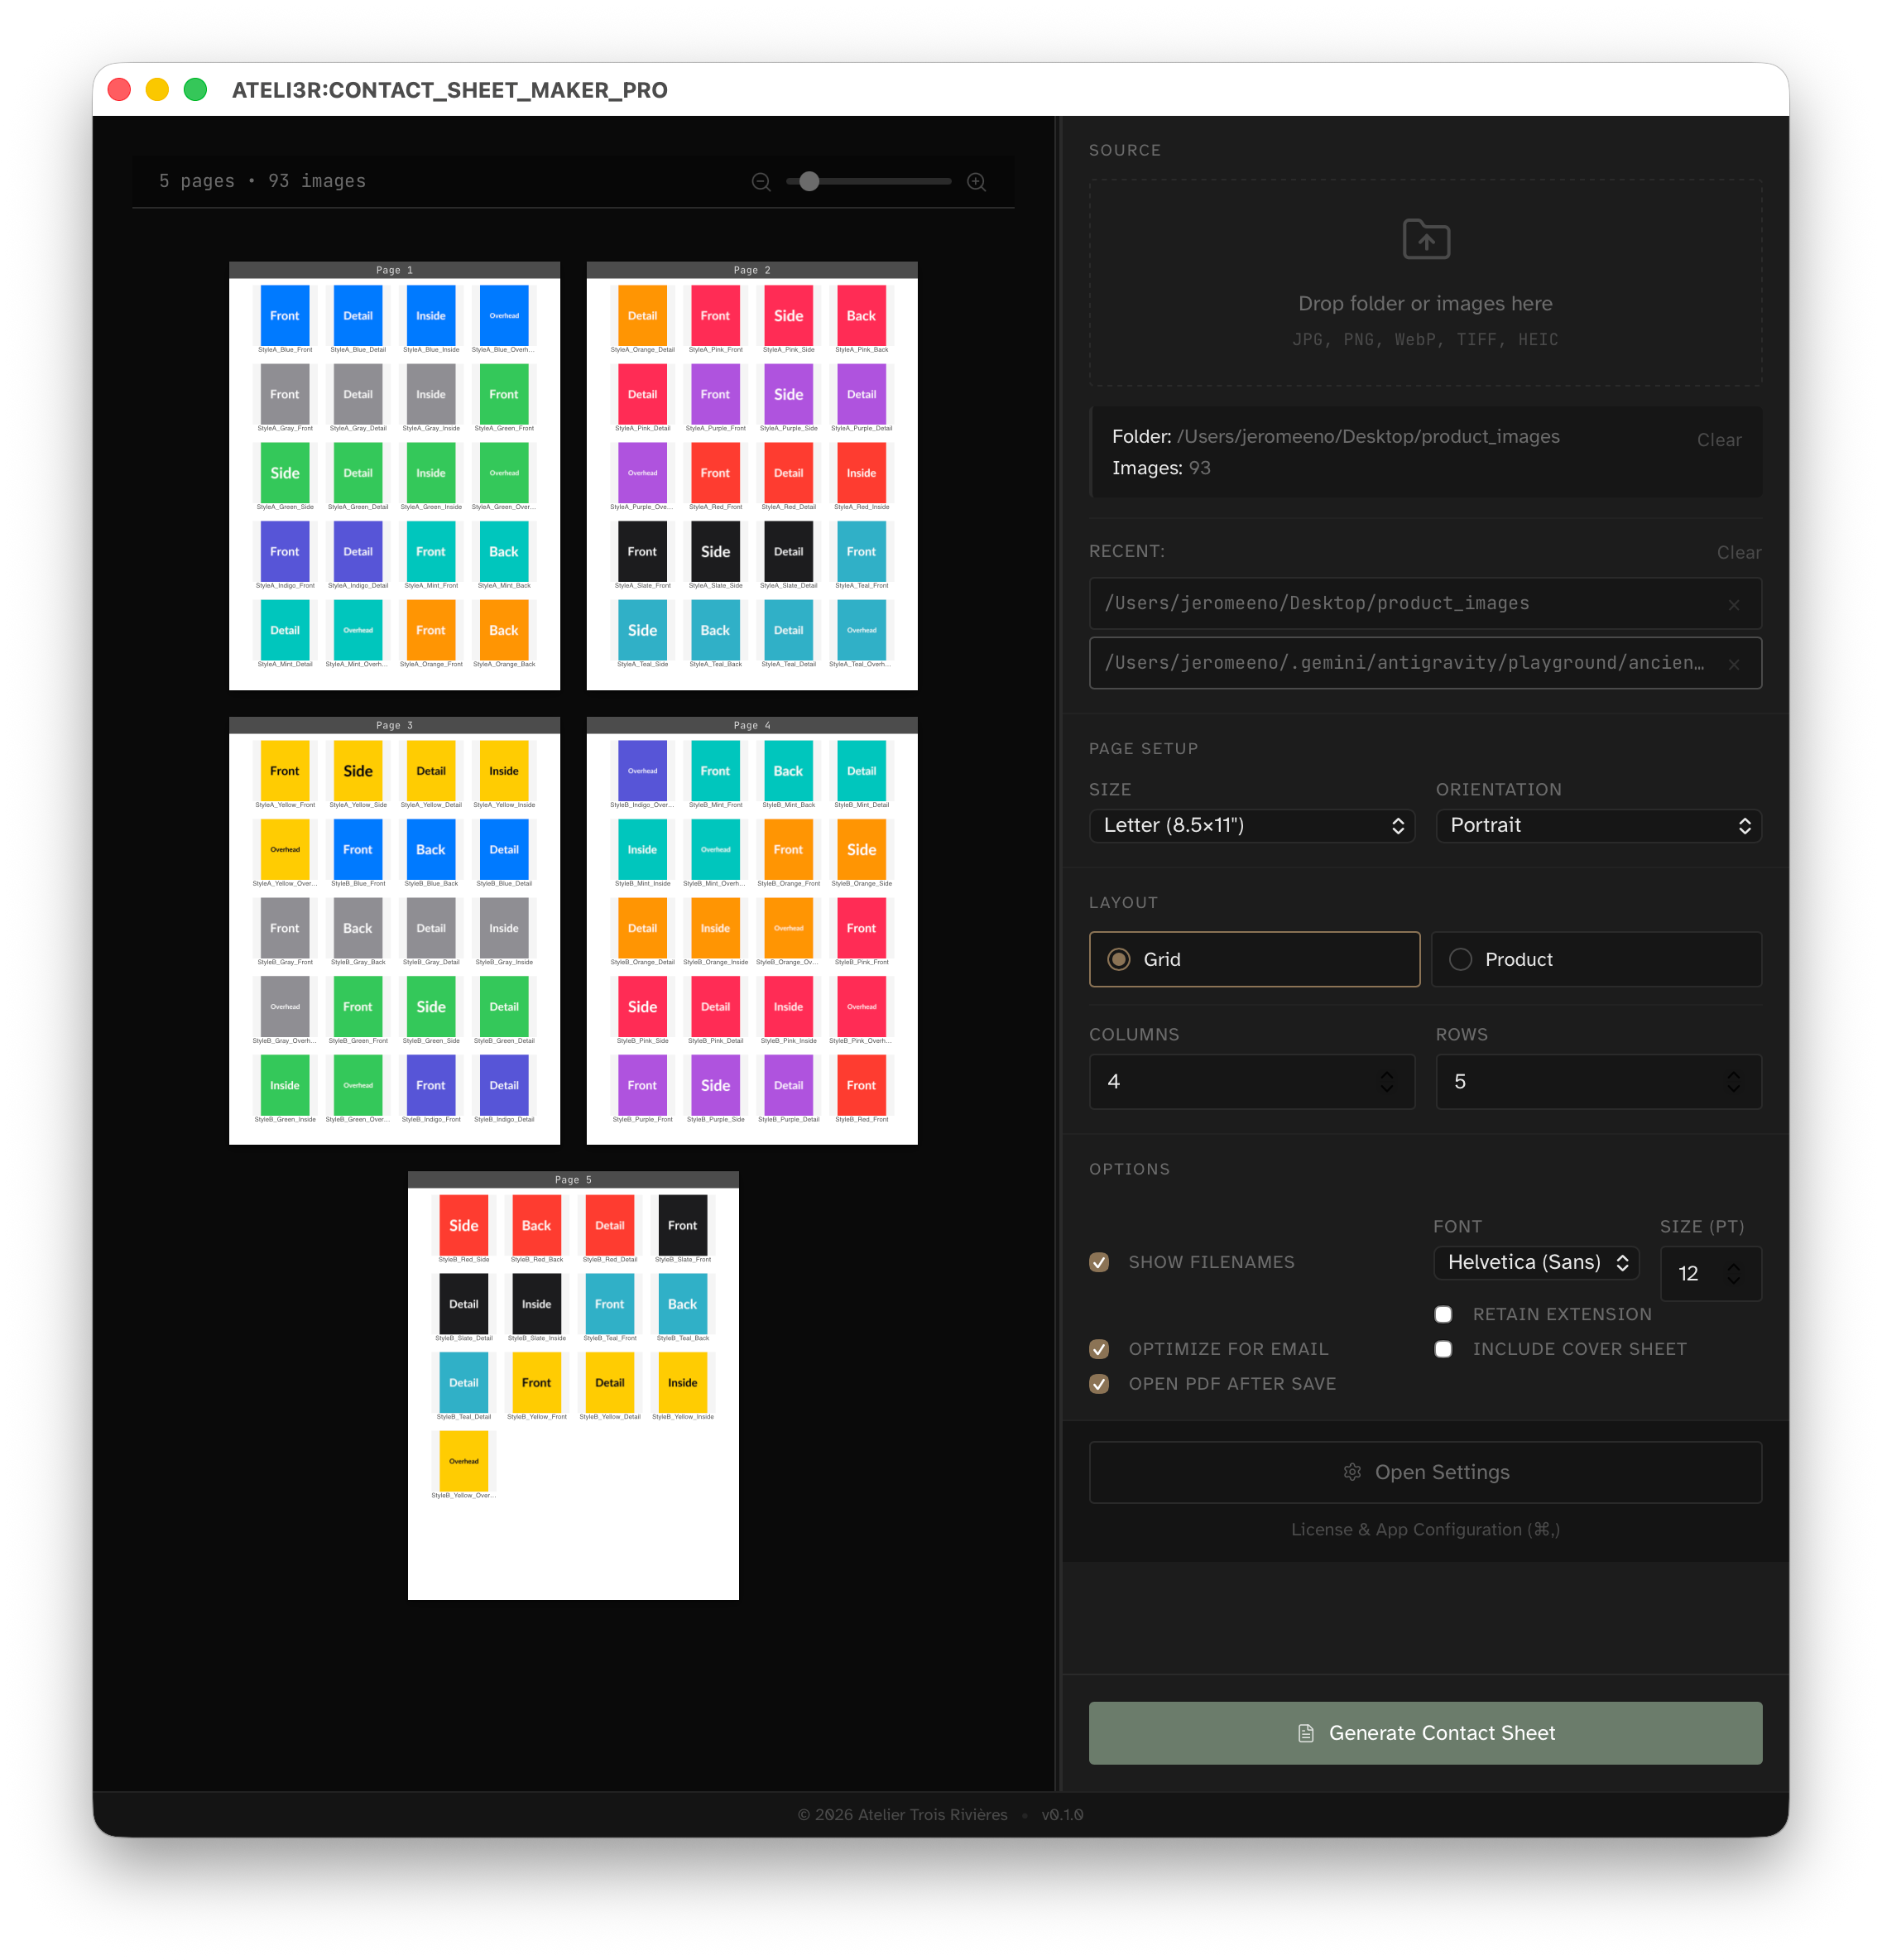
- Load images in Source by dropping a folder or files into the drop zone.
- Confirm Folder and Images appear under Source.
- In Page Setup, choose Size and Orientation.
- In Layout, start with Grid and set Columns and Rows (for example, 4 x 5).
- In Options, enable what you need: Show Filenames, Optimize for Email, Open PDF After Save.
- Click Generate Contact Sheet, choose save location, and wait for completion.
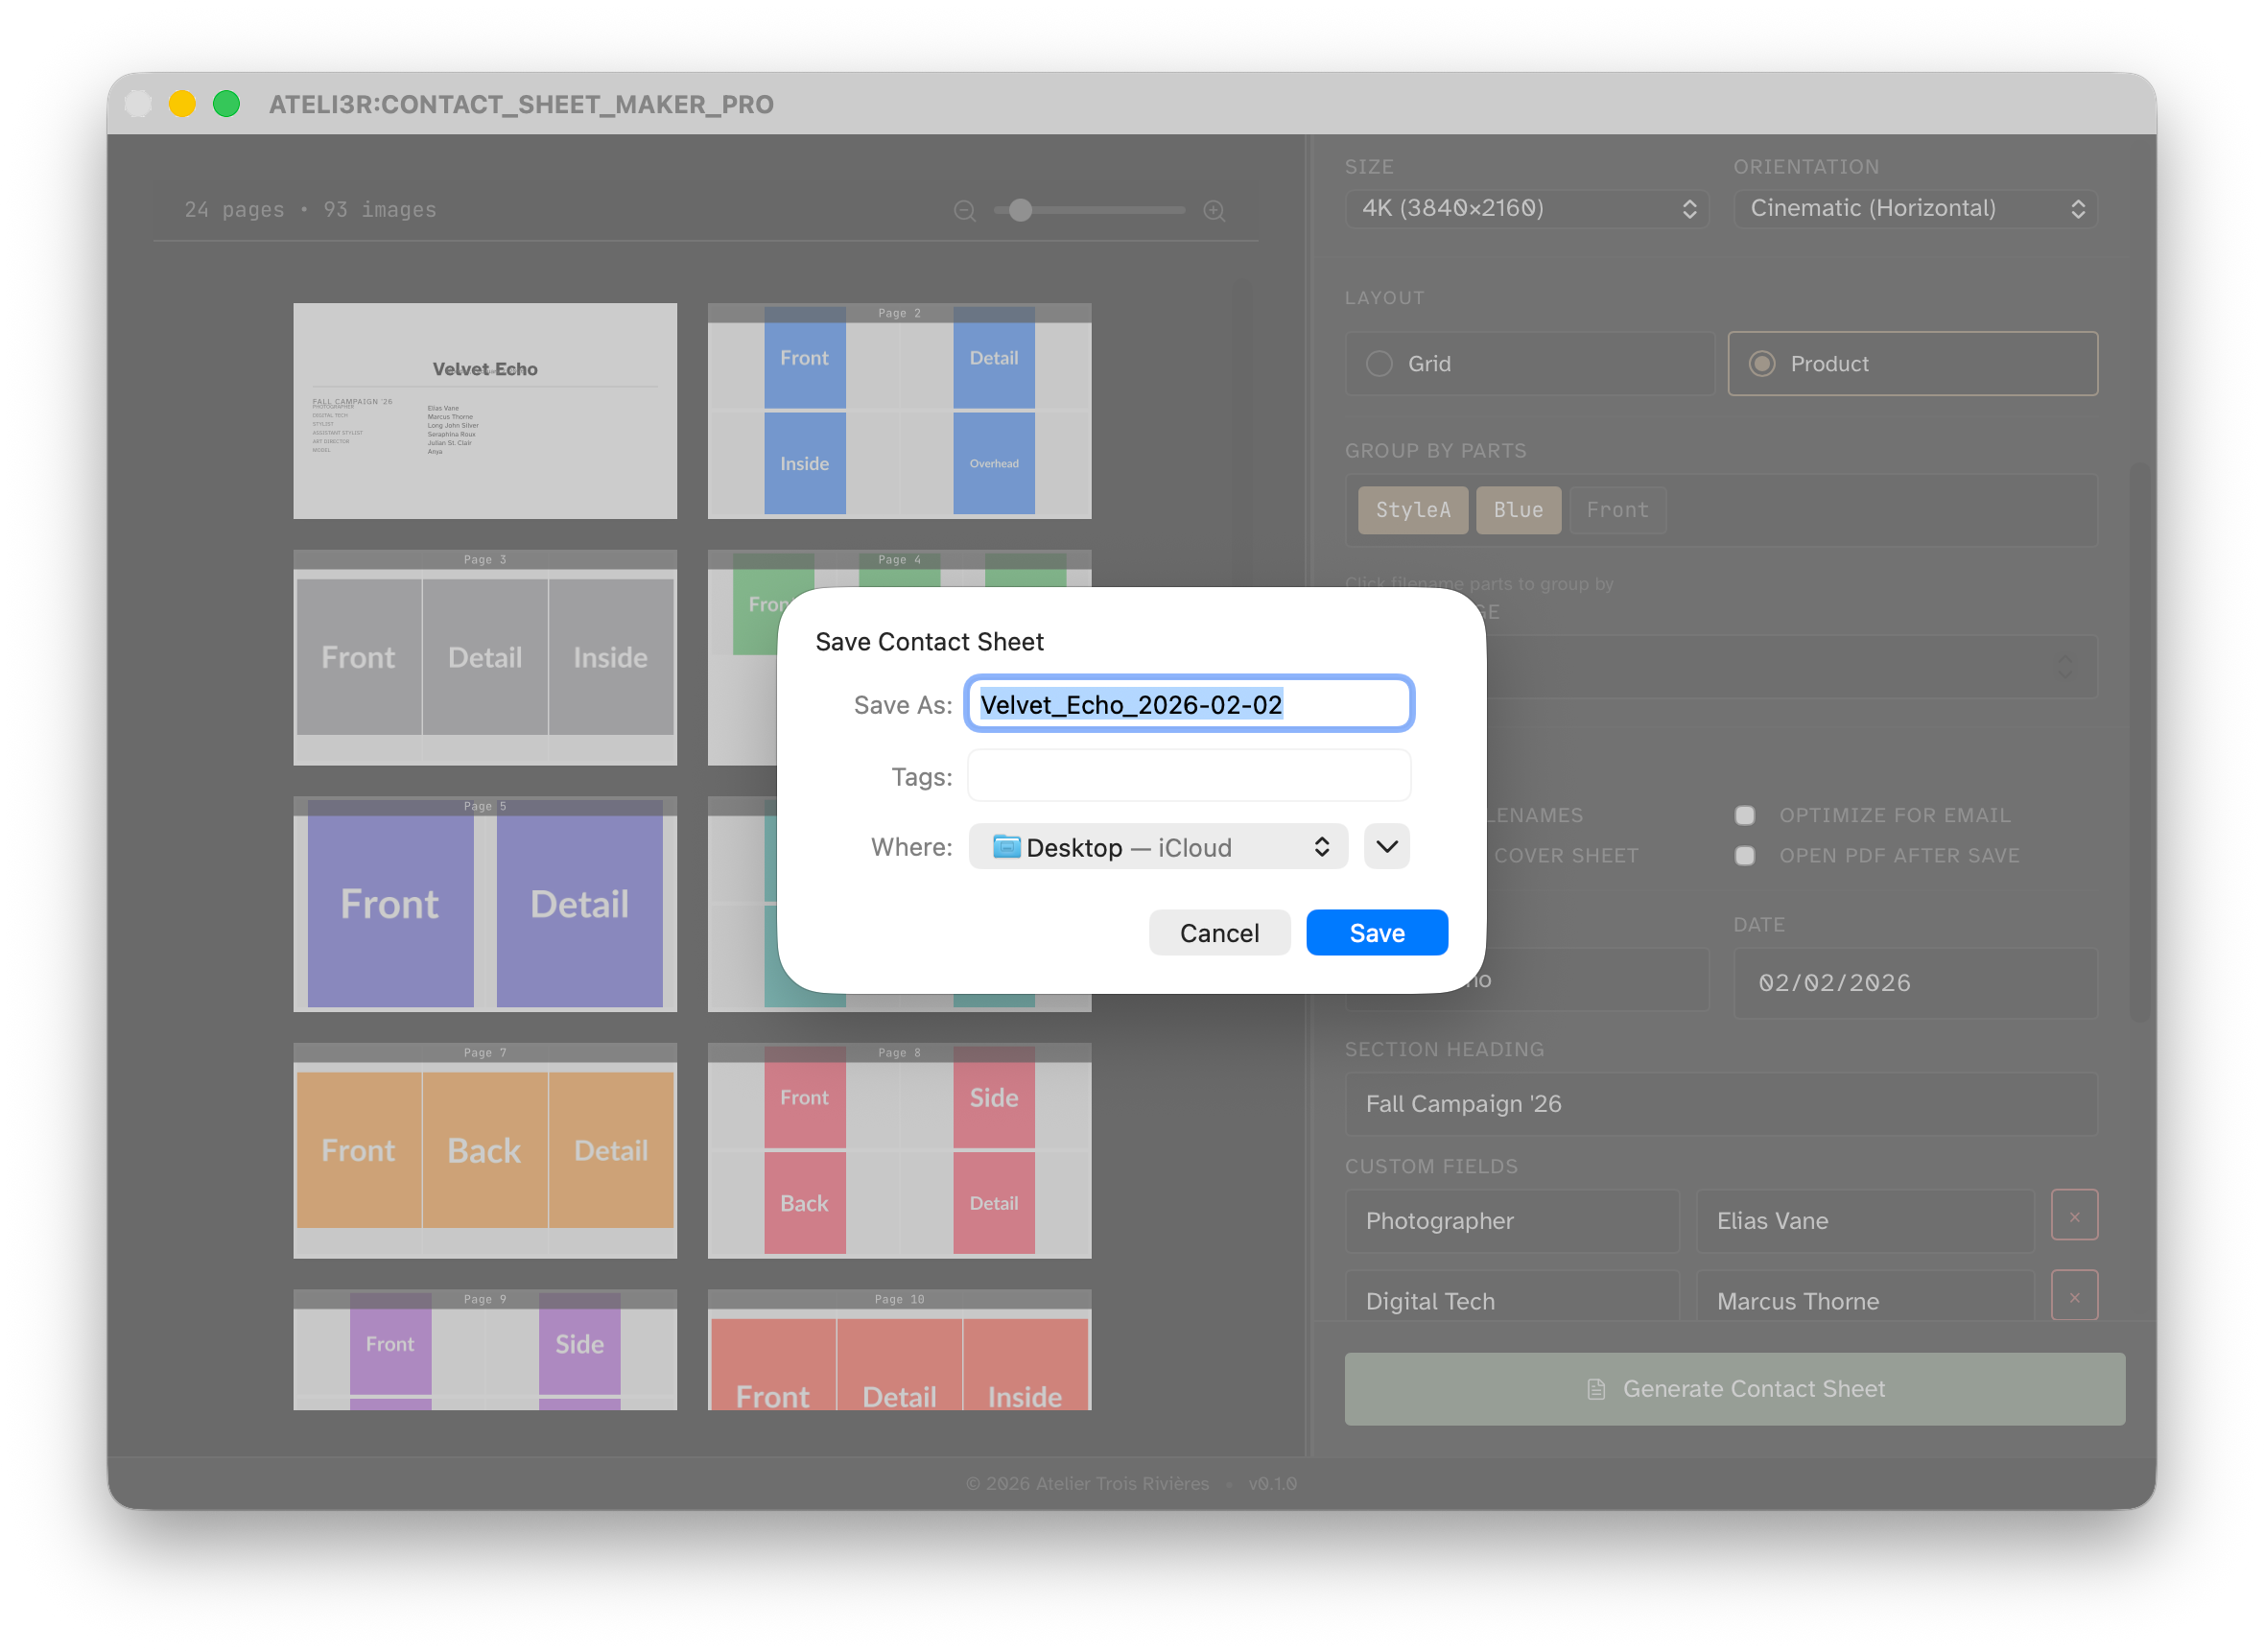
Using Product Mode
- Switch Layout to Product.
- Click filename tokens under Group By Parts to define grouping keys.
- Set Max Per Page to control per-group pagination.
If Generate Is Disabled
- No source images are loaded.
- Product mode is selected but Group By Parts has no selected tokens.
- One or more numeric fields are out of valid range.
Start: Main window with Source, Page Setup, Layout, and Options.
Finish: Save dialog and final export step.
2. Build Expiry & Auto-Disable
This test build has a fixed 14-day lifespan. The current test window starts on March 1, 2026 and expires on March 15, 2026 (local time).
- While active, a top banner shows days remaining and the expiry date.
- The banner can be dismissed for the current session only and reappears on next launch.
- After expiry, a blocking "Testing Build Expired" overlay is shown and workflow access is disabled.
- Install a fresh testing build to continue after expiry.
3. The Workspace
The interface is split into two areas:
- Left: live multi-page preview with zoom slider and page stats.
- Right: configuration sidebar (Source, Page Setup, Layout, Options, and Open Settings).
Workspace layout with live preview and controls.
4. Import Source Images
- Drag and drop a folder or image selection into the drop zone.
- Click the drop zone to choose a directory via file picker.
- The Source panel shows the active path and total image count.
- Supported input formats include JPG, PNG, WebP, TIFF, and HEIC.
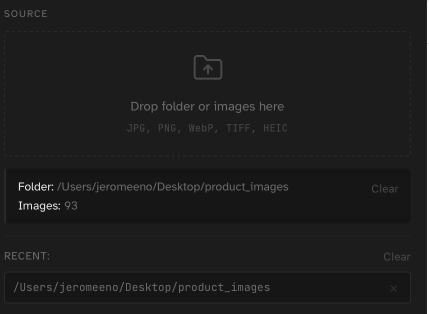
Loaded source folder and image count.
5. Layout Modes
A. Grid Mode
Define rows and columns manually for a strict contact-sheet grid. Images flow to new pages when full.
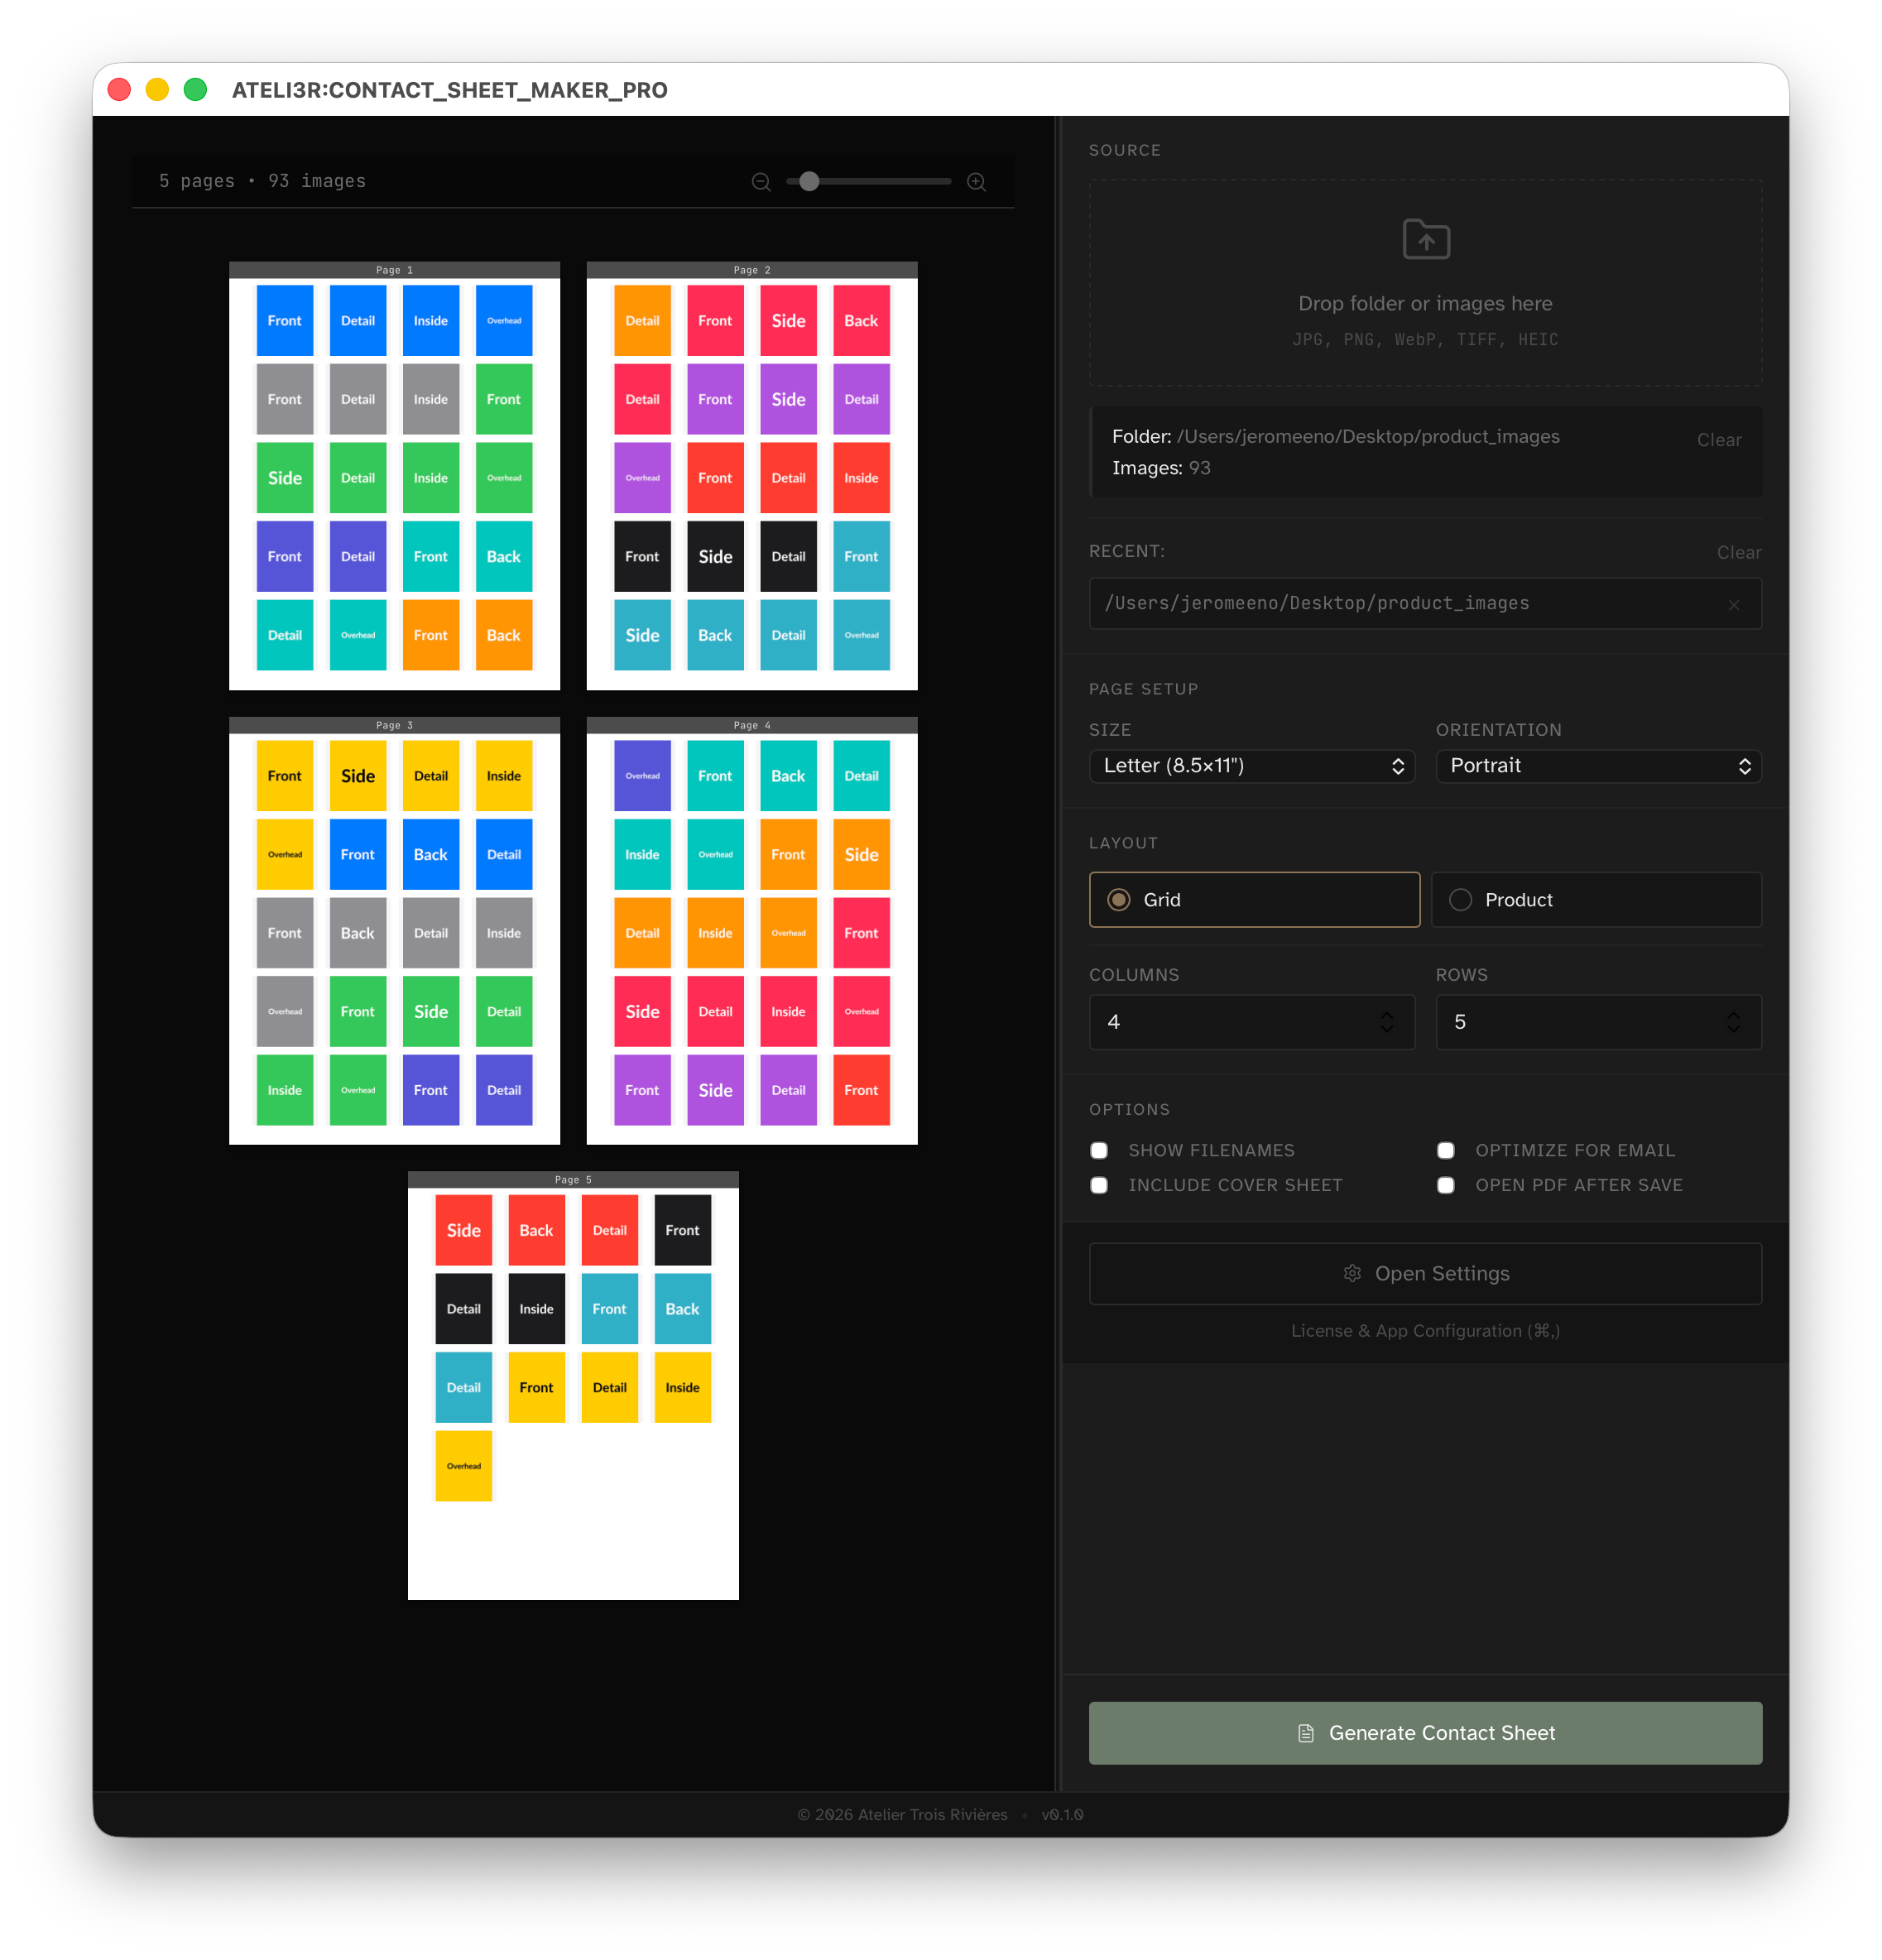
Grid mode configuration.
B. Product Mode
Group images by filename tokens and control max images per page for catalog-style output.
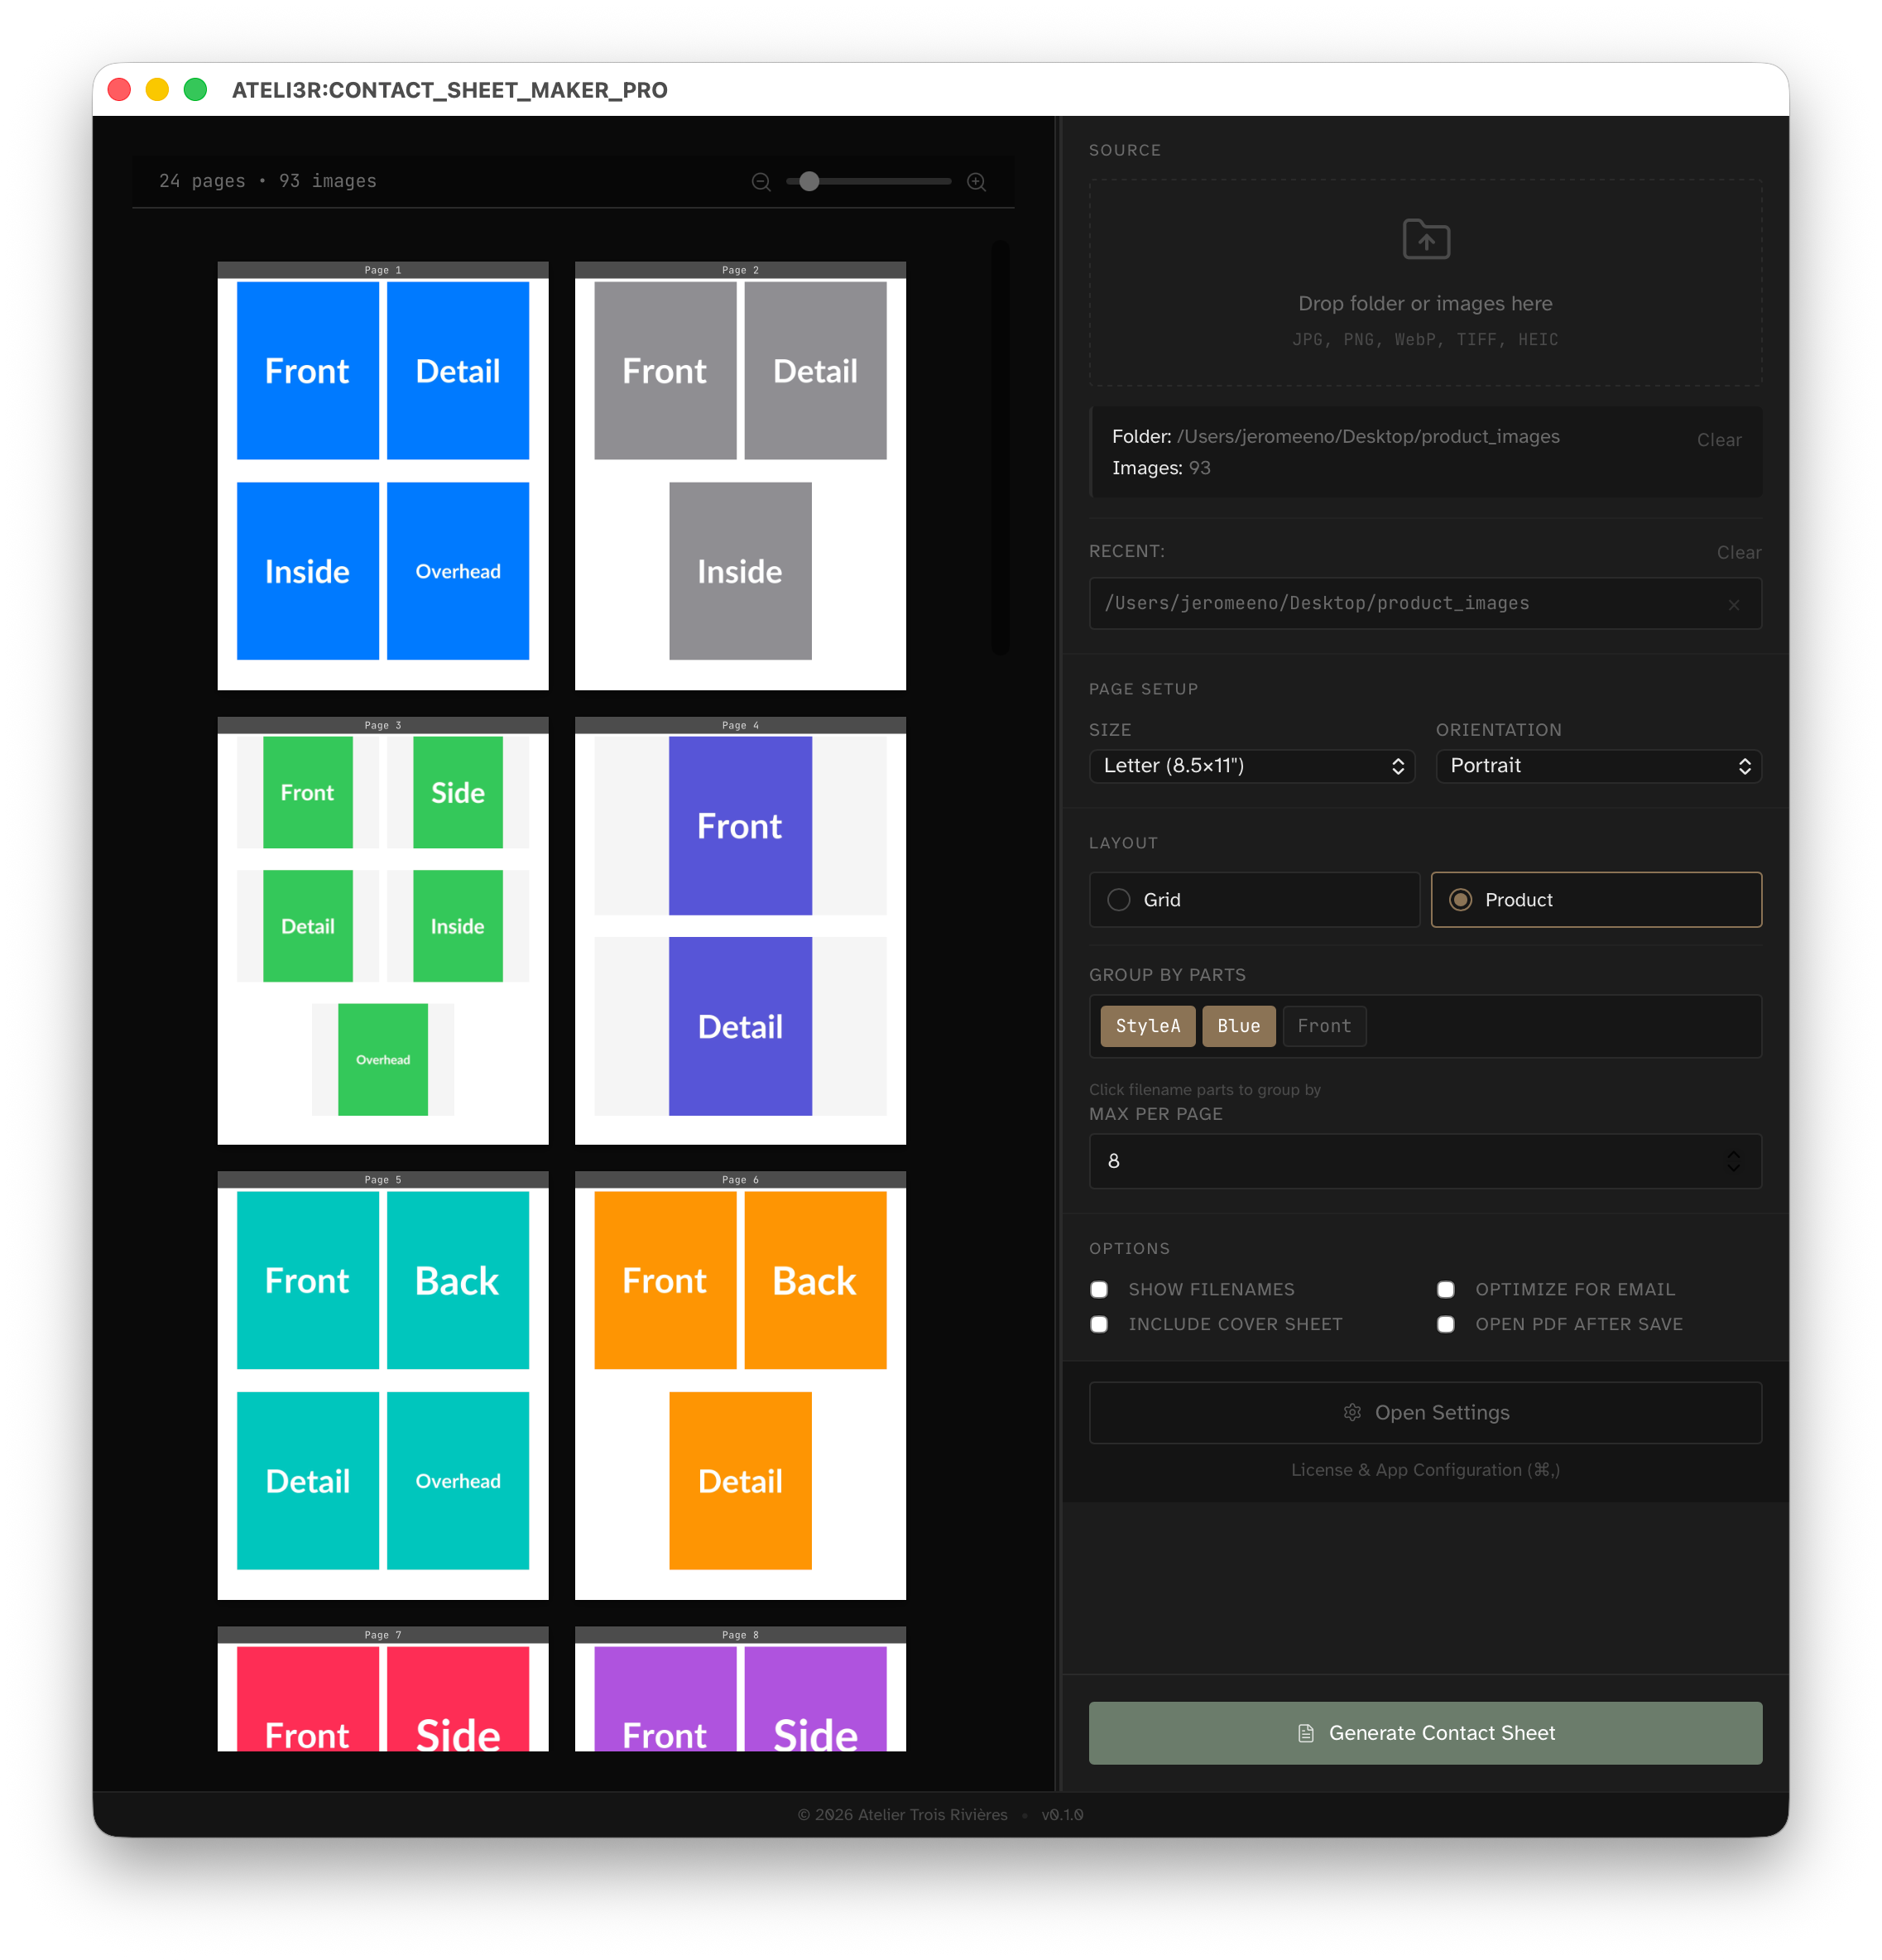
Product mode and grouping controls.
6. Page Setup & Orientation
- Use standard paper sizes (Letter, Legal, Tabloid, A4, A3).
- Use screen presets (HD, 4K) for digital delivery.
- Orientation labels adapt for paper and screen workflows.
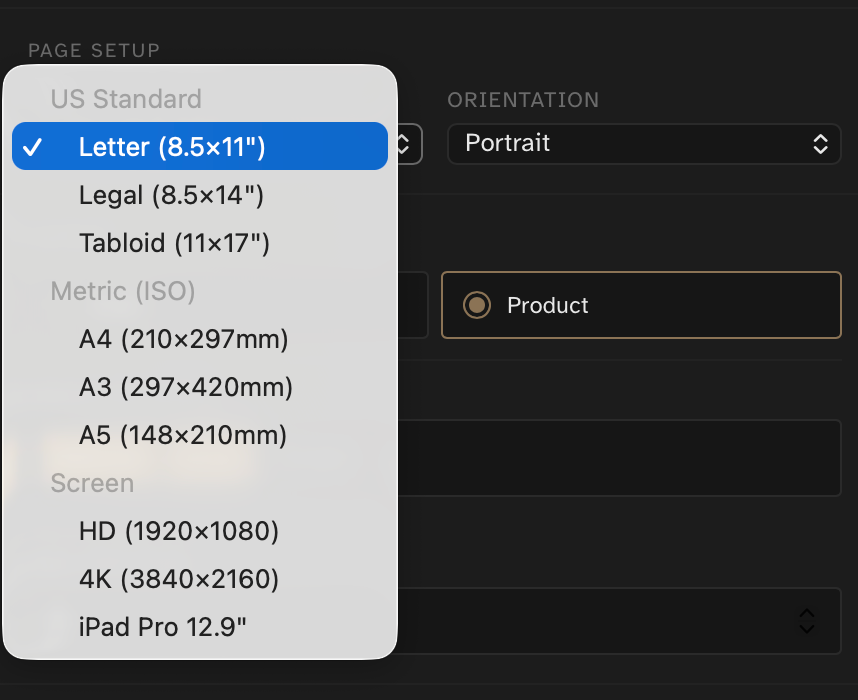
Paper size and orientation controls.
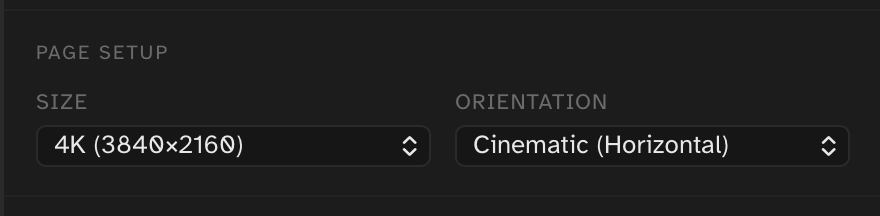
Screen mode orientation labels.
7. Cover Sheet & Metadata
- Enable Include Cover Sheet for a title page.
- Add title/date and custom metadata rows.
- Control filename display with Show Filenames, Font, Size (pt), and Retain Extension.
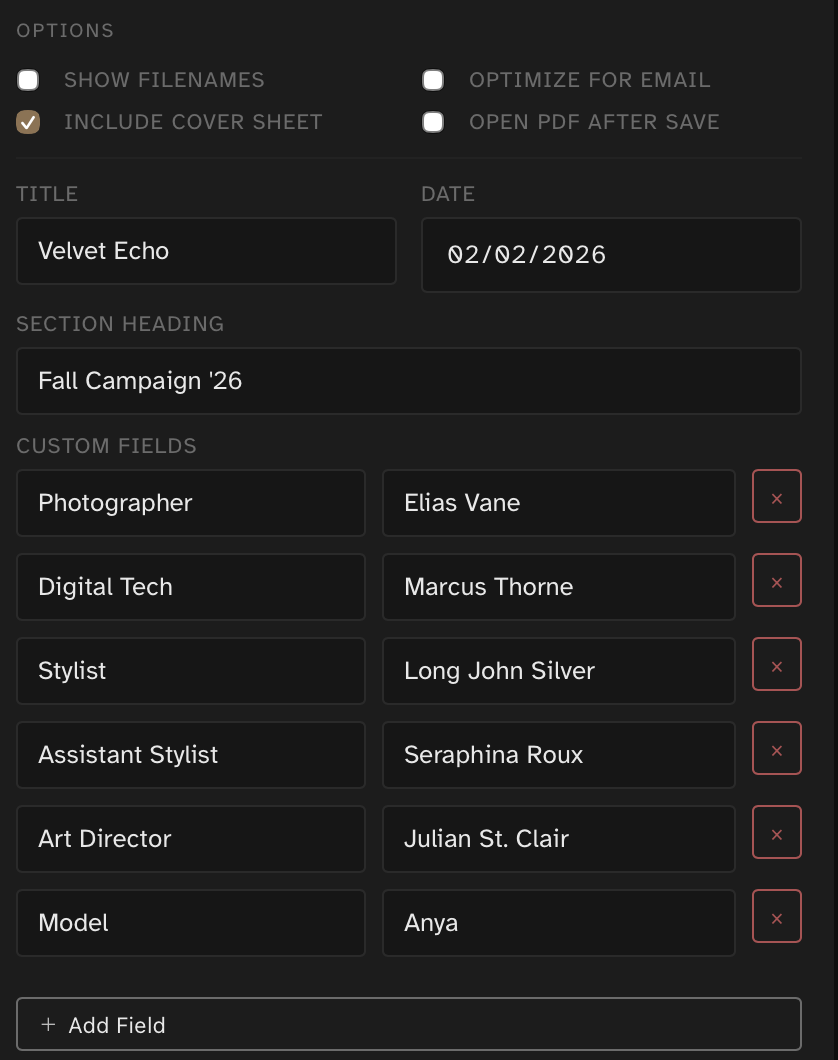
Cover sheet and metadata field setup.
8. Generate & Save
- Click Generate Contact Sheet when layout is finalized.
- Standard mode uses higher image quality for review and print output.
- Optimize for Email reduces output size for faster sharing.
- During processing, a status row appears with progress and Cancel.
Export settings and Generate Contact Sheet action.

Generate progress state with cancel action.
9. Settings & Utilities
- Use Recent Folders to jump back into prior projects.
- Export settings to JSON for team-standardized layouts.
- Import settings to match another operator's configuration.
- Use Reset to Defaults to recover from a broken configuration quickly.
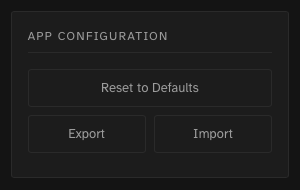
Settings window app configuration tools for reset, export, and import.
10. Troubleshooting
- Generate button disabled: verify source loaded and, for Product mode, grouping tokens selected.
- Unexpected grouping: adjust Group By Parts token selections and preview again before export.
- Output file too large: enable Optimize for Email and reduce page density.
- Need support data: use Help -> Export Logs as Zip... and include it in your bug report.